


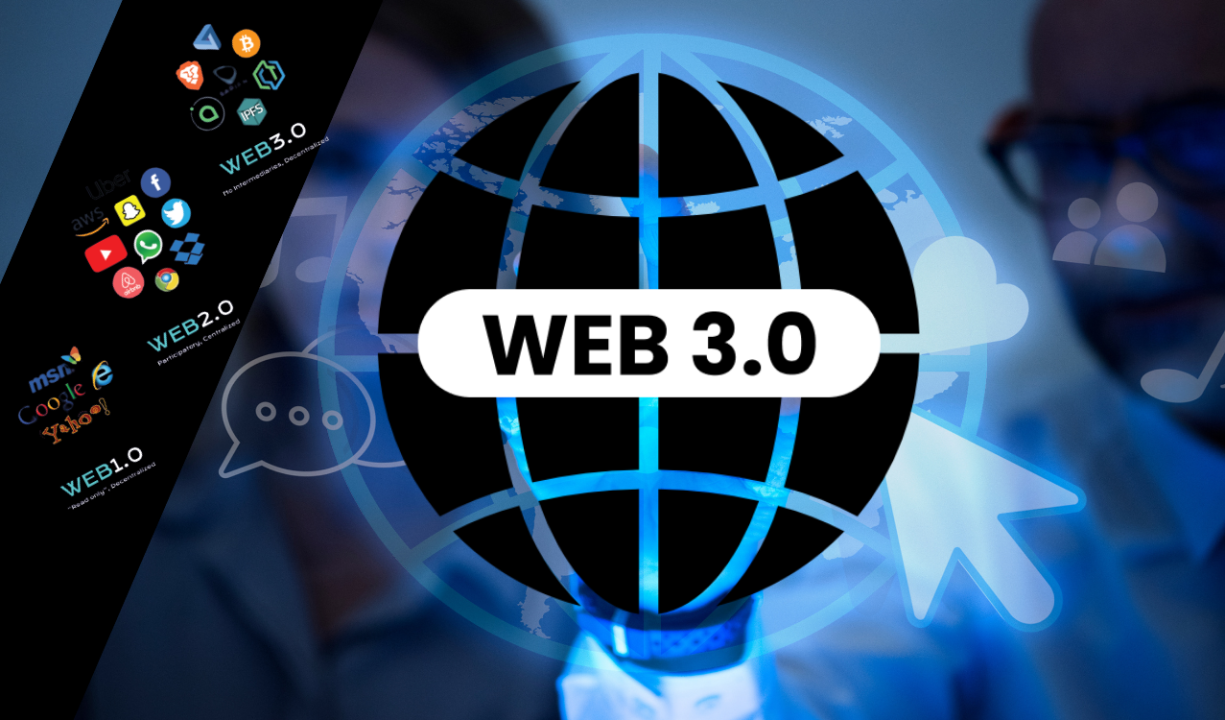
Intro: From Concept to Practice, Unlocking Web3
You've probably heard terms like "Web3," "blockchain," and "cryptocurrency." They paint a picture of a decentralized future internet where users own their data and assets. But for many newcomers, bridging the gap from theory to practical application can feel daunting. Don't worry! This Web3 beginner's guide will walk you through setting up your first crypto wallet—your passport to the Web3 world. More importantly, we'll show you how to securely connect and explore the endless possibilities of decentralized applications (dApps) using the convenient WalletConnect protocol.
Ready? Let's kick start your Web3 journey and truly experience the freedom and innovation of decentralization!
Choosing Your Web3 Wallet: Security Meets Usability
Before you step into Web3, you'll need a crypto wallet. It's more than just a place to store crypto; it's how you authenticate your identity, manage digital assets, and interact with dApps on the blockchain. Picking the right wallet is crucial for beginners.
1.Software Wallets (Hot Wallets): Easy Entry
-
Characteristics: Exist as mobile apps or browser extensions, making them convenient and quick to set up.
-
Pros: Free, easy to install and use, suitable for small daily transactions and dApp interactions.
-
Cons: Since wallet keys are stored on internet-connected devices, they're theoretically more vulnerable to online attacks than hardware wallets.
-
Recommendations:
-
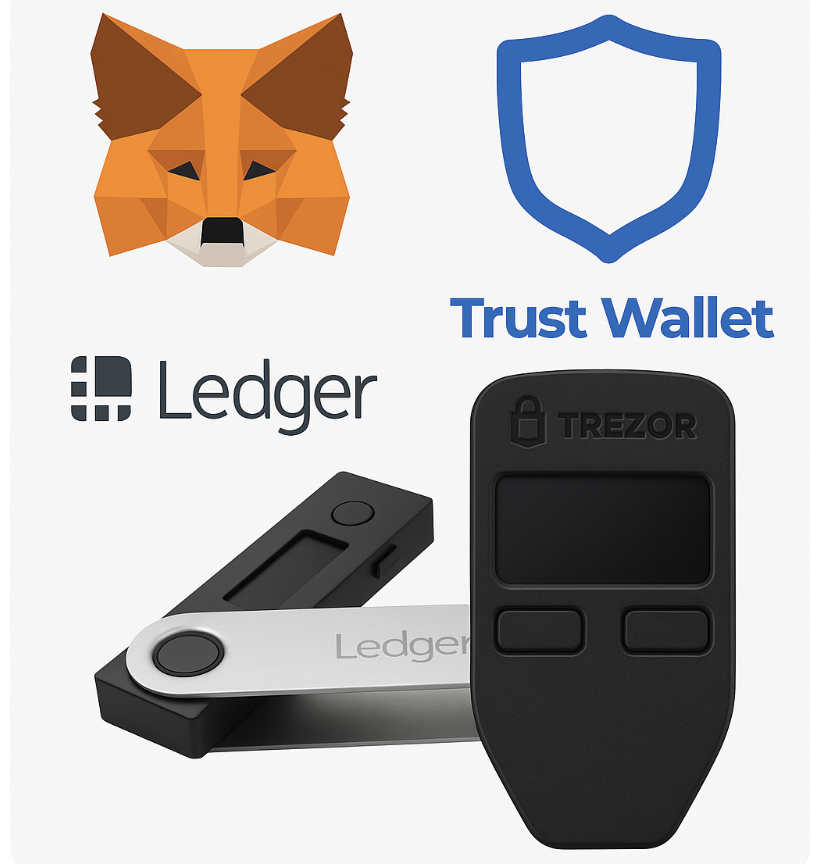
MetaMask: The most popular browser extension wallet, supporting Ethereum and compatible networks. It works with most dApps and is a standard for Web3 users.
-
Trust Wallet: Owned by Binance, this mobile app wallet supports many blockchains and tokens.
-
2.Hardware Wallets (Cold Wallets): A Fortress for Assets
-
Characteristics: Physical devices that store private keys offline, isolated from the internet, offering the highest level of security.
-
Pros: Greatly reduces the risk of hacking, ideal for storing large amounts of crypto assets.
-
Cons: More expensive, generally more complex to use, not ideal for frequent small transactions.
-
Recommendations: Reputable brands like Ledger and Trezor.
Beginner's Tip: When first exploring Web3, start with a reputable software wallet like MetaMask for small experiments and dApp exploration. As your digital assets grow and your understanding of Web3 deepens, consider getting a hardware wallet for enhanced security.
Wallet Setup: Step-by-Step & Security Tips
Let's walk through setting up a crypto wallet using MetaMask (Chrome browser extension) as an example.
1.MetaMask Setup Steps:
Download & Install:
-
Open your Chrome browser and visit the official MetaMask website (always double-check the URL to avoid phishing sites!).
-
Click "Download for Chrome" and then "Add to Chrome."
Create a New Wallet:
-
Once installed, click the MetaMask icon in your browser's top-right corner.
-
Select "Create a new wallet."
-
Read and accept the terms of use.
-
Set a strong password. This password unlocks your MetaMask extension in the browser, not your private key.
2.Save Your Seed Phrase (Mnemonic Phrase):
-
This is the most critical step! MetaMask will show you a seed phrase made of 12 or 24 English words. This sequence of words is the only way to recover your wallet.
-
Crucially, write it down offline with pen and paper and store it securely in at least two different physical locations.
-
Never take photos, screenshots, or store it on any internet-connected device (like your phone, computer, or cloud storage). And never share it with anyone! Whoever has your seed phrase has full control over your wallet's assets.
3.Confirm Your Seed Phrase:
-
Follow the prompts to click or type the words in order to confirm you've backed it up correctly.
-
Once confirmed, your first Web3 wallet is set up!
Wallet Security Best Practices:
-
Never Share Your Private Key/Seed Phrase: This is the golden rule! Anyone asking for your seed phrase or private key is a scammer.
-
Beware of Phishing Sites: Always access dApps and wallet websites through official channels (e.g., direct links from reputable aggregators like CoinGecko, CoinMarketCap) and meticulously check every character of the URL.
-
Test Small Transfers: Before making large transactions, perform a small test transfer to ensure the process and address are correct.
-
Understand Gas Fees:
-
Gas fees are the "transaction fees" you pay to perform any operation on blockchain networks like Ethereum (e.g., transfers, interacting with dApps, minting NFTs). These fees reward miners or validators for securing the network.
-
Fees vary based on network congestion and operation complexity. Always ensure you have enough native tokens in your wallet for Gas fees before initiating a transaction.
-
Connecting dApps: WalletConnect Explained
Now that you have your first Web3 wallet, it's time to explore various decentralized applications (dApps). The most universal and secure way to connect your wallet to a dApp is using the WalletConnect protocol.
1.What is WalletConnect?
WalletConnect is an open-source protocol. It's not a wallet or an application, but a standard secure communication bridge. It allows you to safely connect any crypto wallet on your phone to any dApp in your desktop or mobile browser.
2.Why Use WalletConnect?
-
Ultimate Security: Your private keys never leave your phone or hardware wallet. WalletConnect only relays transaction requests and signed results; all communication is end-to-end encrypted.
-
Seamless Cross-Device Connection: Say goodbye to complex browser plugin dependencies. You can browse a dApp website on your computer, then scan a QR code with your phone wallet to connect and confirm transactions, enabling seamless desktop-to-mobile collaboration.
-
Broad Compatibility: The WalletConnect protocol is widely supported by hundreds of major crypto wallets and thousands of dApps across multiple leading blockchain networks like Ethereum, Polygon, and Solana. It's the universal connection standard for Web3.
3.How to Connect a dApp with WalletConnect
Let's use connecting to the decentralized exchange Uniswap as an example:
1.Visit the dApp Website: Open the official Uniswap website (uniswap.org) in your computer's browser.
2.Click "Connect Wallet": The website usually has a "Connect Wallet" button in the top-right corner. Click it.
3.Select WalletConnect: In the pop-up list of wallets, find and select the WalletConnect option (it typically has a distinct icon).
4.Scan the QR Code: A unique QR code will appear on your screen.
5.Scan with Your Mobile Wallet: Open your crypto wallet app on your phone (e.g., Trust Wallet or MetaMask mobile), find the "Scan" or "WalletConnect" feature, and scan the QR code on your computer screen.
6.Confirm Connection on Your Phone: Your mobile wallet will prompt you to approve the connection to the dApp. Carefully verify the dApp's name and URL, then click "Connect" or "Approve" if everything looks correct.
7.Connection Successful: Your wallet is now successfully connected to the dApp. You'll see your wallet address and balance displayed on the dApp's interface.
Your First On-Chain Interaction: Exploring Web3
Once your wallet is connected, you can start exploring the exciting world of Web3. We recommend starting in "read-only" mode to get familiar with interfaces and features before making any actual transactions.
1.Explore an NFT Collection (e.g., OpenSea)
-
Connect Your Wallet: Follow the WalletConnect steps above to connect your wallet to OpenSea (opensea.io).
-
Browse the Marketplace: You can view NFT artworks published by artists and collectors worldwide. Check out NFT images, descriptions, historical transaction prices, and owners.
-
Experience Ownership: Even if you don't buy anything, Browse helps you understand how Web3 wallets connect to and display these unique digital assets, and how NFTs prove their uniqueness and ownership via the blockchain.
2.Explore a DeFi Dashboard (e.g., Uniswap or DeFiLlama)
-
Connect Your Wallet: Use WalletConnect to connect to DeFi platforms like Uniswap (uniswap.org) or DeFiLlama (defillama.com).
-
View Data: On Uniswap, you can see different crypto token pairs, liquidity pool sizes, trading volumes, and more. On DeFiLlama, you can browse various DeFi protocols' Total Value Locked (TVL), categories, and trends.
-
Understand Decentralized Trading: Even without making actual token swaps, by exploring these interfaces, you'll gain an intuitive understanding of how decentralized exchanges work and the role of liquidity pools in Web3finance.
Key Tips:
-
Start Small: Never invest more than you can afford to lose.
-
Double-Check Transaction Details: Before signing and confirming any transaction (including approvals), always meticulously review all details: transaction type, amount, recipient address, etc.
-
Security First: Stay vigilant. Don't click suspicious links or randomly approve unknown contracts.
Conclusion: Start Your Web3 Exploration
Congratulations! By setting up your first crypto wallet and mastering how to connect to dApps via WalletConnect, you've truly stepped through the gateway to the Web3 world. From now on, you're no longer just a passive consumer of the traditional internet, but an empowered participant who can freely explore the decentralized ecosystem.
The Web3 space is evolving at an incredible pace, with new dApps and innovations emerging daily. Maintain your enthusiasm for learning, stay vigilant about security practices, and always operate with caution. May your Web3exploration be full of discoveries and fruitful results!


